[et_pb_section fb_built=”1″ _builder_version=”4.16″ da_disable_devices=”off|off|off” global_colors_info=”{}” da_is_popup=”off” da_exit_intent=”off” da_has_close=”on” da_alt_close=”off” da_dark_close=”off” da_not_modal=”on” da_is_singular=”off” da_with_loader=”off” da_has_shadow=”on”][et_pb_row _builder_version=”4.16″ global_colors_info=”{}”][et_pb_column type=”4_4″ _builder_version=”4.16″ global_colors_info=”{}”][et_pb_text _builder_version=”4.16″ global_colors_info=”{}”]
Reach under your bed and grab that foam roller – it’s time to put it to use!
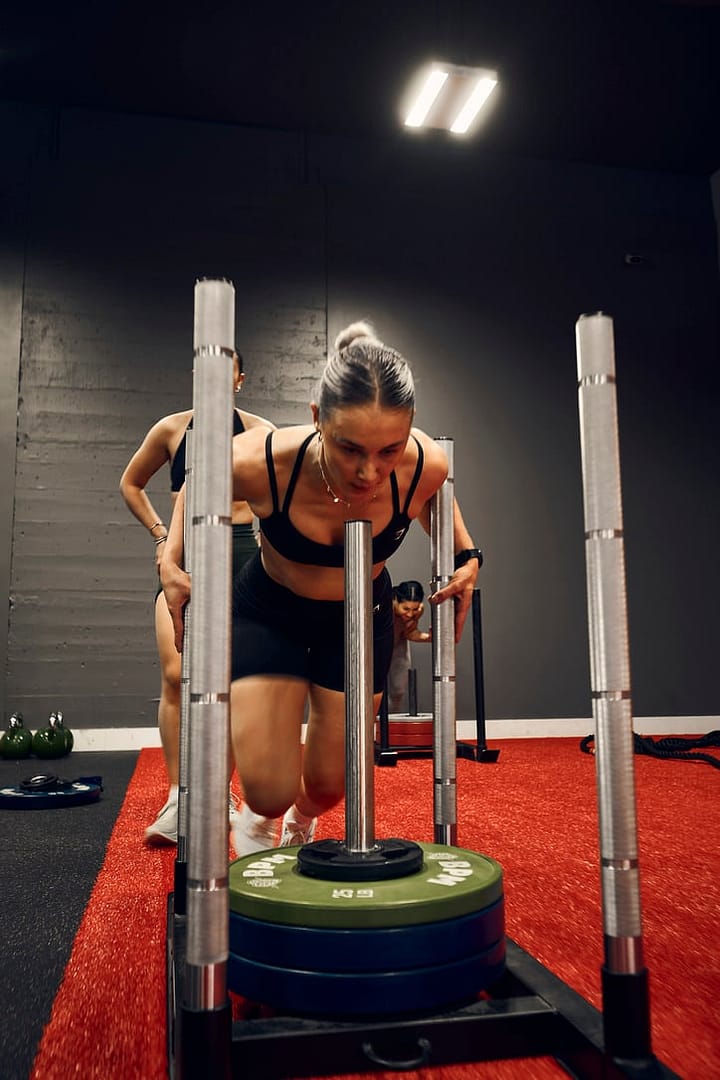
Do you ever find yourself feeling tight, stiff, or in pain? You’ve probably visited a physio and ignored their advice or found yourself at a walk-in clinic to figure out why that “trick hip” is acting-up again. Well, how about some easy stuff you can do right at home! Below, we’ve put together our 3 favourite foam rolling exercises to help you reduce pain, stiffness and get back to doing what you love.
Foam rolling is a great way to improve mobility and minimize joint dysfunction. It’s a form of self myofascial release (SMR) which helps stimulate receptors thereby increasing blood flow to soft tissue, breaking down adhesions and tissue granulations, and unlocking extended ranges of motion. It’s not a cure-all. Rather, should be one modality used in a dynamic warm-up or recovery session to improve mobility.
Hit each muscle/side for 1-2 minutes at a pain scale of a 4/5 out of 10. Be sure to breathe slowly and deeply to allow your muscles and joints to relax. Review the diagram and images for specific roller placement.
[/et_pb_text][/et_pb_column][/et_pb_row][et_pb_row column_structure=”1_2,1_2″ _builder_version=”4.16″ global_colors_info=”{}”][et_pb_column type=”1_2″ _builder_version=”4.16″ global_colors_info=”{}”][et_pb_text _builder_version=”4.16″ global_colors_info=”{}”]
1) Thoracic Spine (spinal erectors) – place the roller under your lowest rib and roll up across your mid back, through to your upper back. Vary your arm positioning to shift your shoulder blades into various positions to target muscles differently.
[/et_pb_text][et_pb_divider show_divider=”off” _builder_version=”4.16″ global_colors_info=”{}”][/et_pb_divider][et_pb_divider show_divider=”off” _builder_version=”4.16″ global_colors_info=”{}”][/et_pb_divider][et_pb_text _builder_version=”4.16″ global_colors_info=”{}”]
2) Lats – place the roller under your armpit while lying perpendicular to the ground. With your arm extended, roll about three inches up your arm and down to your mid-ribs.
[/et_pb_text][et_pb_text _builder_version=”4.16″ global_colors_info=”{}”]
3) Calves –Start with both legs on the roller at the same time, rolling from above the ankle to behind the knee. Work up to doing one leg at a time, with the other leg crossed over top for added pressure.
[/et_pb_text][/et_pb_column][et_pb_column type=”1_2″ _builder_version=”4.16″ global_colors_info=”{}”][et_pb_image src=”https://mluj3jxns3bo.i.optimole.com/cb:LoFI.33fb9/w:auto/h:auto/q:mauto/ig:avif/https://www.bpmvictoria.com/wp-content/uploads/2020/05/T-Spine.jpg” _builder_version=”4.19.4″ custom_padding=”|175px||||” hover_enabled=”0″ global_colors_info=”{}” admin_label=”Image” alt=”3 FOAM ROLLING EXERCISES” title_text=”3 FOAM ROLLING EXERCISES” sticky_enabled=”0″][/et_pb_image][et_pb_image src=”https://mluj3jxns3bo.i.optimole.com/cb:LoFI.33fb9/w:auto/h:auto/q:mauto/ig:avif/https://www.bpmvictoria.com/wp-content/uploads/2020/05/T-Spine.jpg” _builder_version=”4.19.4″ custom_padding=”|175px||||” hover_enabled=”0″ global_colors_info=”{}” admin_label=”Image” alt=”3 FOAM ROLLING EXERCISES” title_text=”3 FOAM ROLLING EXERCISES” sticky_enabled=”0″][/et_pb_image][et_pb_image src=”https://mluj3jxns3bo.i.optimole.com/cb:LoFI.33fb9/w:auto/h:auto/q:mauto/ig:avif/https://www.bpmvictoria.com/wp-content/uploads/2020/05/lats.jpg” _builder_version=”4.19.4″ custom_padding=”|172px||||” hover_enabled=”0″ global_colors_info=”{}” alt=”3 FOAM ROLLING EXERCISES” title_text=”3 FOAM ROLLING EXERCISES” sticky_enabled=”0″][/et_pb_image][/et_pb_column][/et_pb_row][/et_pb_section]